
Fashion
Your Guide to Sourcing Luxury Travel Fashion Online: Where Style Meets Adventure

Building a gaming PC is a rewarding project that allows you to customize your system for optimal performance, aesthetics, and value. Understanding each component is crucial to ensure compatibility, reliability, and a seamless gaming experience. This guide covers the essential parts, step-by-step assembly, and actionable tips for sourcing and installing each part without risking compatibility or performance issues. We also address the most common challenges and offer practical solutions for every step of the process.
To build a functional gaming computer, you need the following core components :
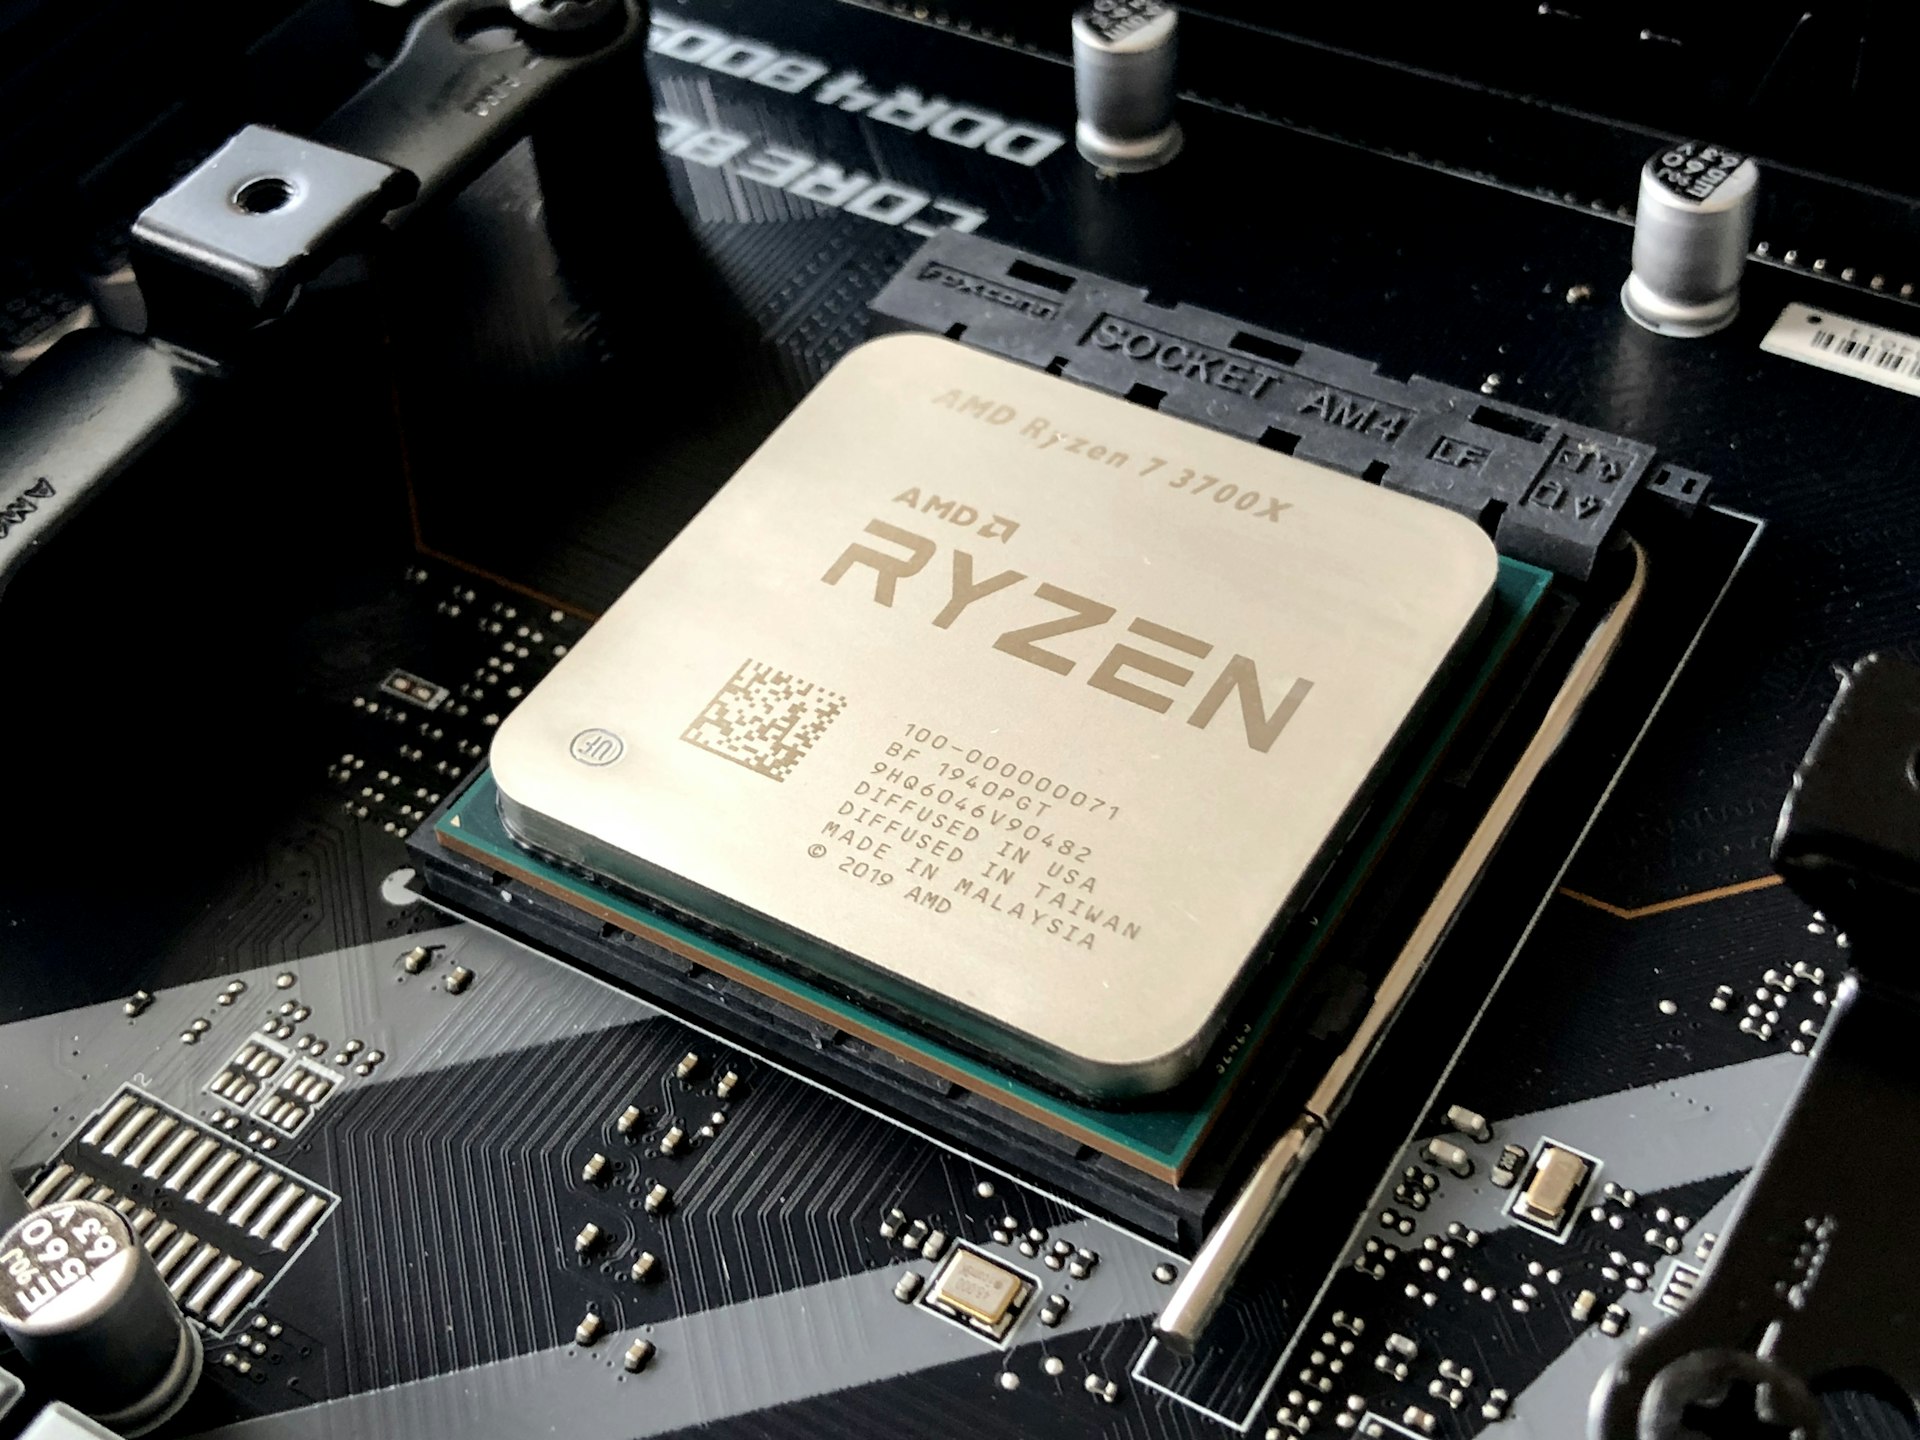
The CPU is the heart of your gaming PC, responsible for executing instructions and handling general performance tasks. Modern gaming relies heavily on strong single-core and multi-core performance. For gaming in 2025, popular choices include the latest Intel Core and AMD Ryzen processors, which offer robust performance for modern titles. When choosing a CPU, ensure it matches your intended use and fits the motherboard socket type you select. Entry-level CPUs may include a stock cooler, but high-performance chips often require a dedicated cooling solution for stability and quiet operation [1] [3] .
The GPU is the most important component for gaming performance, directly impacting frame rates and visual quality. Choose a GPU that fits your budget and gaming goals. NVIDIA and AMD are the primary manufacturers, offering a range of cards from entry-level to high-end. Note that GPU prices can fluctuate due to demand. Always ensure the GPU is compatible with your case and power supply and that it will physically fit in your build. Modern GPUs require dedicated power connectors and proper airflow [1] [3] .
The motherboard connects all your components and determines future upgrade potential. It must be compatible with your CPU and RAM (including socket type and chipset). Motherboards come in various form factors, including ATX, Micro-ATX, and Mini-ITX. When selecting a motherboard, consider features such as the number of PCIe slots, RAM slots, built-in Wi-Fi, USB ports, and M.2 slots for fast storage. Compatibility tools, such as PCPartPicker, can help prevent mistakes during selection [1] [3] .
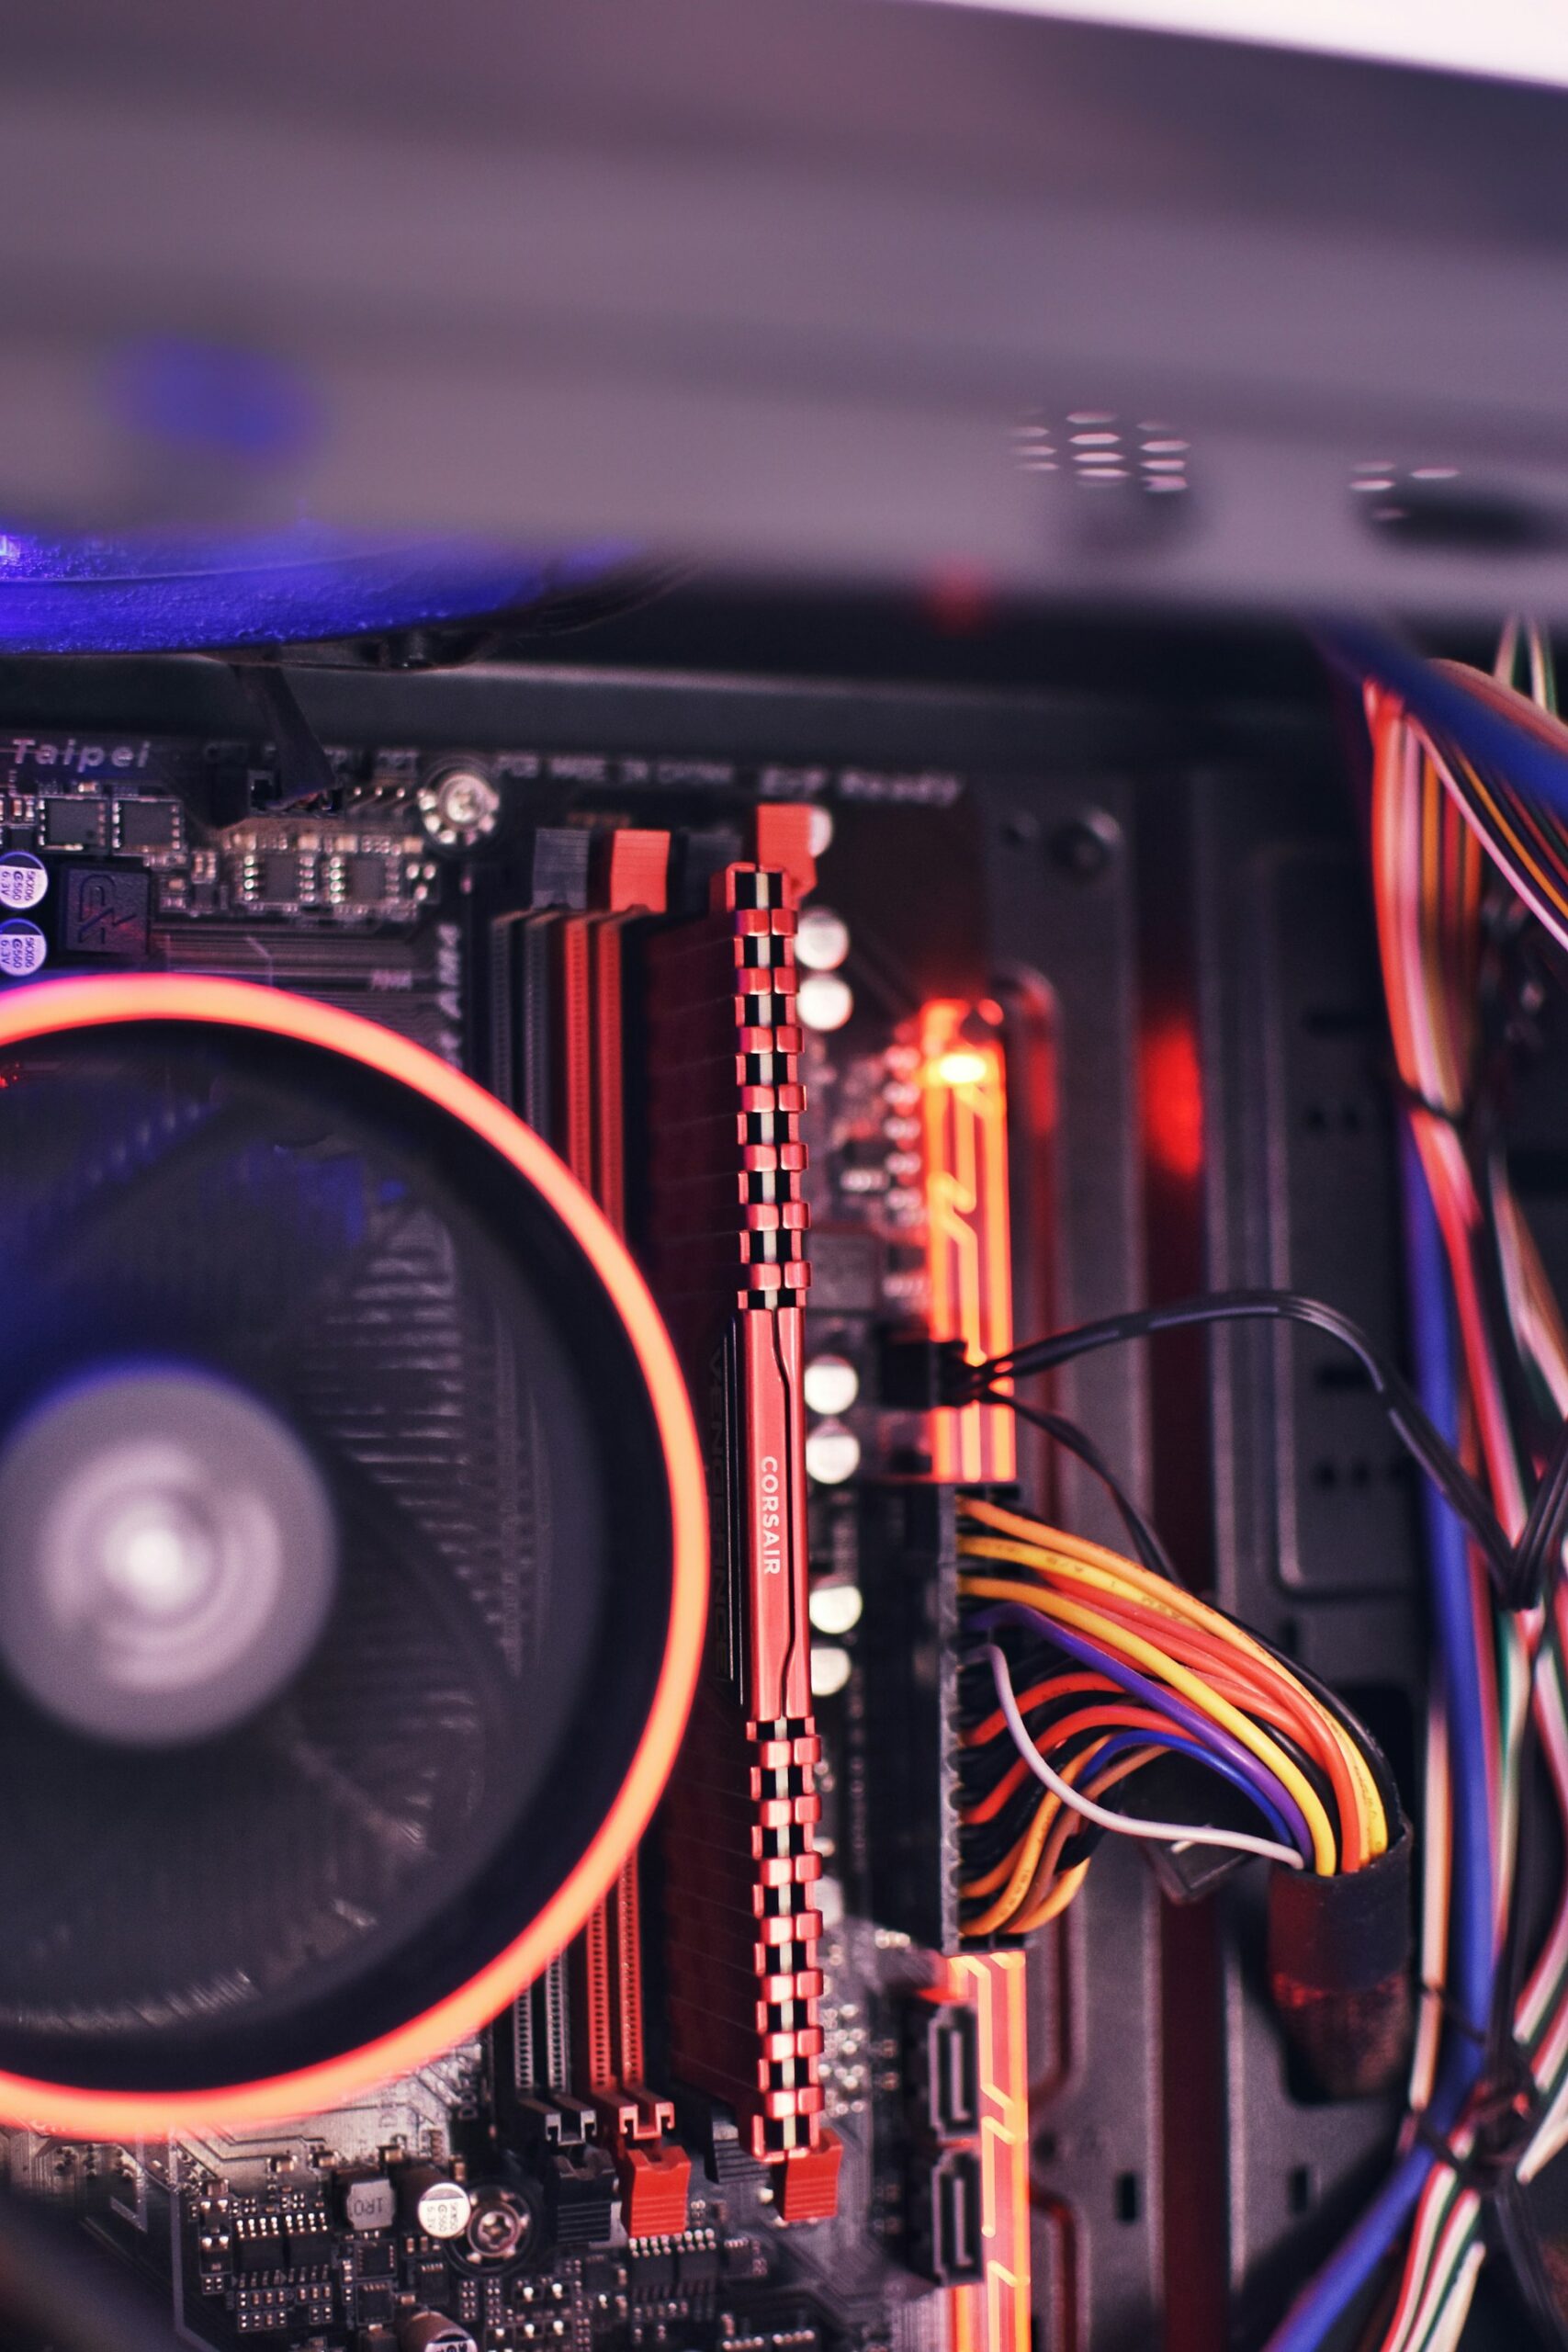
RAM is essential for smooth multitasking and loading games quickly. The minimum recommended RAM for modern gaming is 16GB, but 32GB is ideal for future-proofing and running demanding applications. Choose RAM that matches your motherboard and CPU requirements (DDR4 or DDR5), and consider speed and latency for best performance. Ensure you install RAM sticks in the appropriate slots as per the motherboard manual [3] [1] .
Fast storage is vital for reducing load times and improving system responsiveness. Modern gaming PCs typically use an NVMe M.2 SSD for the operating system and frequently played games. A secondary SATA SSD or traditional HDD can provide additional storage for large game libraries. Aim for at least 1TB of total storage to accommodate modern game sizes. Installing your SSD in the correct motherboard slot and securing it properly is crucial [3] [1] .
The power supply delivers electricity to all your components. Choose a reputable brand with enough wattage for your GPU and CPU, typically 650W-850W for most builds. Look for 80 Plus Gold or higher efficiency ratings for better reliability and lower electricity costs. Modular PSUs simplify cable management and airflow. Always ensure your PSU includes the required power connectors for your GPU and motherboard [3] .
The case physically houses all your components and influences cooling, noise, and aesthetics. Select a case that matches your motherboard’s form factor and provides good airflow. Features to consider include multiple fan mounts, dust filters, cable management options, and front panel ports (USB Type-A and USB-C). A tempered glass side panel allows you to showcase your build if desired. Cases are available in a range of sizes and designs [3] [1] .
CPUs generate heat and require a cooling solution. Many mainstream CPUs include a stock cooler, but aftermarket air or liquid coolers offer improved performance and lower noise. When choosing a cooler, ensure it fits your case and is compatible with your CPU socket. For high-performance CPUs and overclocking, a 240mm or 360mm all-in-one liquid cooler is often recommended. Always apply thermal paste according to manufacturer instructions [3] [1] .
Set up a clean, static-free workspace. Use a Phillips-head screwdriver and consider an anti-static wrist strap to prevent component damage. Organize your parts and ensure you have all manuals accessible for reference.
Start by opening the CPU socket and carefully placing the processor, aligning any notches or arrows. Lock it in place, then install the RAM sticks in the recommended slots for dual-channel performance. Attach the CPU cooler, ensuring proper thermal paste application. If using an M.2 SSD, install it at this stage for convenience.
Secure the motherboard to the case using the included standoffs and screws. Take care to align all ports with the case’s I/O shield. Connect front panel connectors and case fans to the motherboard headers, following the manual for pin assignments.
Mount 2.5″ SSDs or 3.5″ HDDs in the designated drive bays. For M.2 SSDs, insert the drive into the motherboard slot at a slight angle and secure it with the provided screw. Connect SATA or power cables as required.
Remove the appropriate expansion slot covers and insert the GPU into the top PCIe x16 slot. Secure with screws and connect any required PCIe power cables from the PSU. Ensure the GPU is properly seated and locked in place.
Install the PSU into the case, aligning it with the mounting holes. Connect the 24-pin motherboard, 8-pin CPU, and PCIe GPU power cables. Modular PSUs allow you to attach only the cables needed, reducing clutter.
Route cables behind the motherboard tray to improve airflow and aesthetics. Use zip ties or Velcro straps to secure loose cables. Double-check all connections, especially the CPU and GPU power connectors, and verify that no cables obstruct fans or moving parts.
Common challenges include:
If building from scratch feels overwhelming, consider these alternatives:
To source your PC parts, you can:

Building a gaming PC requires careful part selection, attention to compatibility, and methodical assembly. Each component plays a distinct role in your system’s performance and longevity. Use established resources, take time to plan, and seek assistance from reputable channels when needed. With proper preparation, even first-time builders can successfully assemble a high-performance gaming computer tailored to their needs.
MORE FROM savvysc.com